Table of Contents
A P-trap is the curved section of pipe beneath a sink or drain that holds water to block sewer gas from entering your home. It’s required under nearly every plumbing fixture. Replacing one typically costs very little in parts, though professional labor adds to the total.
If you’ve ever looked under a bathroom or kitchen sink, you’ve seen a P-trap without necessarily knowing its name: that curved pipe shaped like the letter P lying on its side. It’s a small part, but it does an important job, and it’s one of the more common plumbing repairs a homeowner will run into. This article explains what a P-trap actually does, where you’ll find one, how to tell when it needs attention, and what replacing it typically costs, whether you do it yourself or hire a plumber. It also covers the basic steps involved and when the job is better left to a professional.
What Is a P-Trap?
A P-trap is a curved section of drainpipe, shaped like the letter P turned on its side, installed just below the drain of a sink, tub, shower, or floor drain. Its curve is designed to hold a small amount of standing water at all times. That trapped water creates a seal that blocks sewer gas, including hydrogen sulfide and methane, from traveling back up through the drain and into the room. Plumbing codes require a properly functioning trap on every drain fixture for exactly this reason.
P-Trap at a Glance
| Detail | Description |
|---|---|
| Function | Holds standing water to block sewer gas from entering the home |
| Typical location | Directly beneath sinks, tubs, showers, and some floor drains |
| Common sizes | 1¼ inch (bathroom sinks) and 1½ inch (kitchen sinks and other fixtures) |
| Common materials | PVC, chrome-plated brass, or other metal |
| Requires water shutoff to replace | No — the trap sits below the drain, not the supply line |
| Typical DIY parts cost | Roughly $5 to $40 depending on material and kit |
| Typical professional replacement cost | Commonly a few hundred dollars including labor, varying by region and access |
Where P-Traps Are Used
A P-trap is installed under nearly every fixture that drains water, including:
- Bathroom and kitchen sinks, where it’s the most visible and easiest to access.
- Tubs and showers, though the trap here is usually hidden below the floor.
- Floor drains, in basements, garages, or utility rooms.
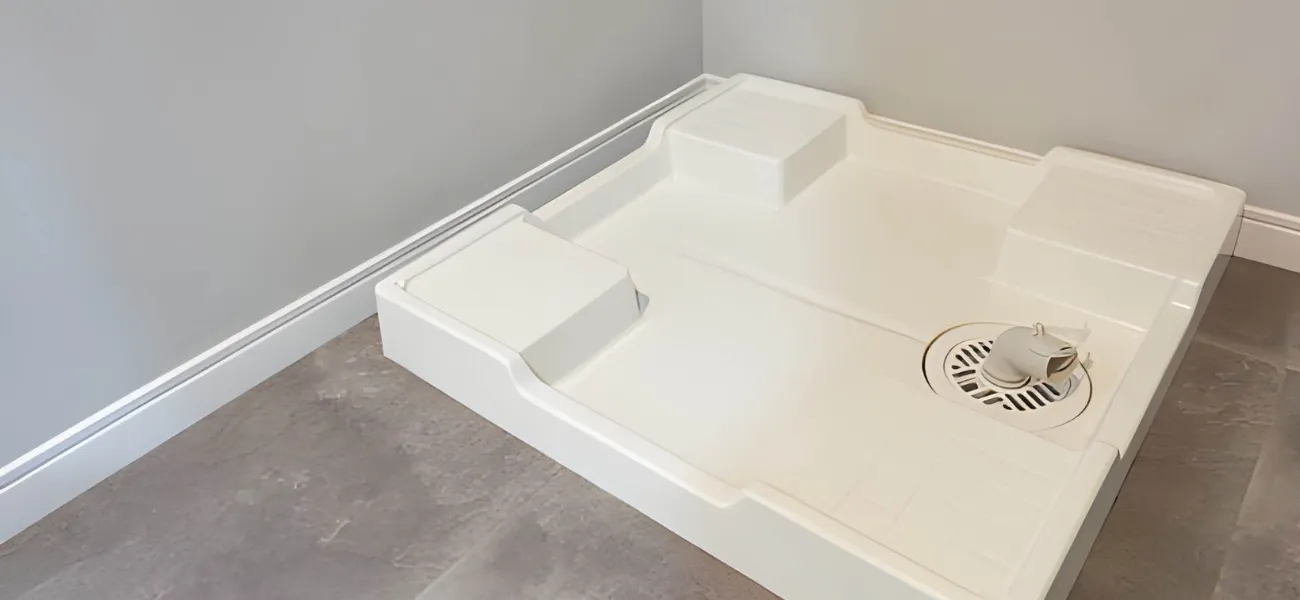
- Washing machine standpipes, where the trap sits inside the wall below the visible pipe.
Because it’s required under every fixture, a single home typically has several P-traps, even though most people only ever notice the one under the kitchen or bathroom sink.
P-Trap vs. S-Trap
An S-trap is an older design that curves in the shape of the letter S rather than a P. It’s more prone to losing its water seal through siphoning, where the flow of draining water pulls too much water out of the trap at once, leaving it empty and unable to block sewer gas. For this reason, most current plumbing codes call for P-traps rather than S-traps in new work, and a plumber replacing an old S-trap will typically install a P-trap instead unless there’s a specific structural reason not to.
Signs Your P-Trap Needs Attention
A few signs point to a P-trap that’s failing or needs replacing rather than just refilling:
- A sewer smell near the drain, especially in a fixture that isn’t used often, often means the trap has simply dried out rather than failed. Running water for 10 to 15 seconds usually resolves this.
- Visible corrosion, cracking, or discoloration on a metal trap suggests it’s deteriorating and may soon leak.
- Water pooling under the sink after use points to a leak at a slip-joint connection or a crack in the trap itself.
- A smell that returns quickly after refilling the trap can mean the trap is damaged or was installed incorrectly, rather than simply dry.
How Much Does P-Trap Replacement Cost?
Cost depends mainly on whether you do the work yourself or hire a plumber, along with the trap’s material and how easy it is to access.
DIY replacement: A basic plastic P-trap kit is typically inexpensive, often in the range of $5 to $20, while a metal trap kit generally costs more, often $15 to $40, depending on the material and brand.
Professional replacement: When a licensed plumber handles the job, the total typically includes both parts and labor, and industry estimates commonly place a standard single-trap replacement in the range of roughly $100 to $400, with higher totals possible if metal traps, difficult access, or additional pipe work are involved.
What typically affects the total:
- Trap material. PVC is generally the least expensive option; chrome-plated brass or other metal traps cost more for both parts and installation time.
- Access. A trap in an open, easy-to-reach cabinet costs less to replace than one behind stored items, a garbage disposal, or a cramped vanity.
- Regional labor rates. Hourly rates for licensed plumbers vary significantly by area, which affects the labor portion of the total.
- Hidden damage. If a plumber finds a corroded tailpiece, a damaged wall stub-out, or additional leaking pipe once the trap is removed, the job can expand beyond a simple swap.
These figures are general industry estimates, not a quote. Always get a written estimate from a licensed plumber for your specific situation before agreeing to the work.
How to Replace a P-Trap Yourself
Replacing a P-trap is often within reach for a confident homeowner, since no water shutoff is required. The basic steps are:
- Place a bucket underneath the trap to catch any remaining water.
- Loosen the slip-joint nuts on both ends of the trap by hand or with pliers.
- Remove the old trap and check the tailpiece and drain opening for damage or corrosion.
- Install the new trap, making sure the curve is oriented correctly to hold water.
- Hand-tighten the slip-joint nuts, then add a quarter turn with pliers. Overtightening is the most common mistake and can crack the fitting.
- Run water and check for leaks at each connection before considering the job finished.
If the tailpiece, wall stub-out, or nearby pipe is also damaged, or if you’re not confident matching the trap size and material to your existing setup, this is a good point to bring in a licensed plumber instead.
Safety Guidance
- Wear gloves when removing an old trap, since standing water inside it may not be clean.
- Don’t force a stuck slip-joint nut with excessive pressure. Older plastic fittings can crack, and metal ones can strip.
- Don’t attempt to repair a trap that’s part of a main drain line or connected to a toilet’s built-in trap. These involve different fixtures and typically need a professional.
- If you notice a strong, persistent sewer smell that doesn’t go away after refilling or replacing the trap, treat it as a sign of a larger venting or sewer line issue and have it checked rather than continuing to troubleshoot the trap alone.
When to Call a Professional Plumber
A few situations are better handled by a licensed plumber than a DIY attempt:
- The trap keeps leaking even after a straightforward replacement.
- The tailpiece, wall stub-out, or nearby pipe shows damage once the old trap is removed.
- You’re unsure what size or material matches your existing plumbing.
- The odor or leak persists after the trap has been replaced, suggesting a different underlying cause.
- The fixture involves a more complex setup, like a double kitchen sink with a garbage disposal and dishwasher connection.
A plumber can confirm whether the issue is really the trap or something further along the drain line, and can match the replacement to your home’s existing plumbing correctly.
Frequently Asked Questions
What happens if a P-trap is missing or removed?
Without a P-trap, sewer gas has a direct path from the drain line into the room, which can create odor and, in enough concentration, a health hazard from gases like hydrogen sulfide. Every drain fixture is required by code to have a functioning trap for this reason.
Do I need to turn off my water to replace a P-trap?
No. The P-trap sits on the drain side of the plumbing, not the supply side, so there’s no need to shut off your water. You will want a bucket ready to catch any standing water inside the old trap.
Why does my P-trap keep drying out?
This typically happens in fixtures that aren’t used often, like a guest bathroom sink or a rarely used floor drain. Running water for 10 to 15 seconds refills the trap, and doing this periodically in low-use drains prevents the smell from returning.
Is it cheaper to replace a P-trap myself or hire a plumber?
Doing it yourself is generally less expensive, since basic parts often cost between $5 and $40 depending on material, while a professional replacement typically includes both parts and labor. Hiring a plumber costs more but is worth considering if you’re unsure about matching sizes, materials, or if other damage is suspected.
Can a P-trap be the wrong size for my sink?
Yes. Traps are commonly sized at 1¼ inch for bathroom sinks and 1½ inch for kitchen sinks and other fixtures, and using the wrong size can cause leaks or an improper seal. If you’re replacing a trap yourself, matching the existing size is important, and a plumber can confirm the correct size if you’re unsure.
How often does a P-trap need to be replaced?
A P-trap doesn’t have a fixed replacement schedule and can last many years under normal use. Plastic traps are generally replaced when they crack or a slip-joint connection fails, while metal traps are typically replaced when they show corrosion, discoloration, or a persistent leak.
Getting a P-Trap Issue Checked
If a P-trap keeps leaking, smells persistently even after refilling, or you’re unsure whether the trap or something further down the line is the real cause, a licensed plumber can inspect it and explain your options before recommending a repair.